APPLICATION
AUTOMOTIVE
- Air Conditioning
- Radiators
- Exhaust
- Transmission…
PACKAGINGS
- Aerosol Caps
- Plastic Bags
- Sprays
- Plastic Bottles...
ELECTRONICS
- Hard Disk
- Watches
- TV Screen
- Camera Lenses…
MEDICAL
FEATURES
GENERAL
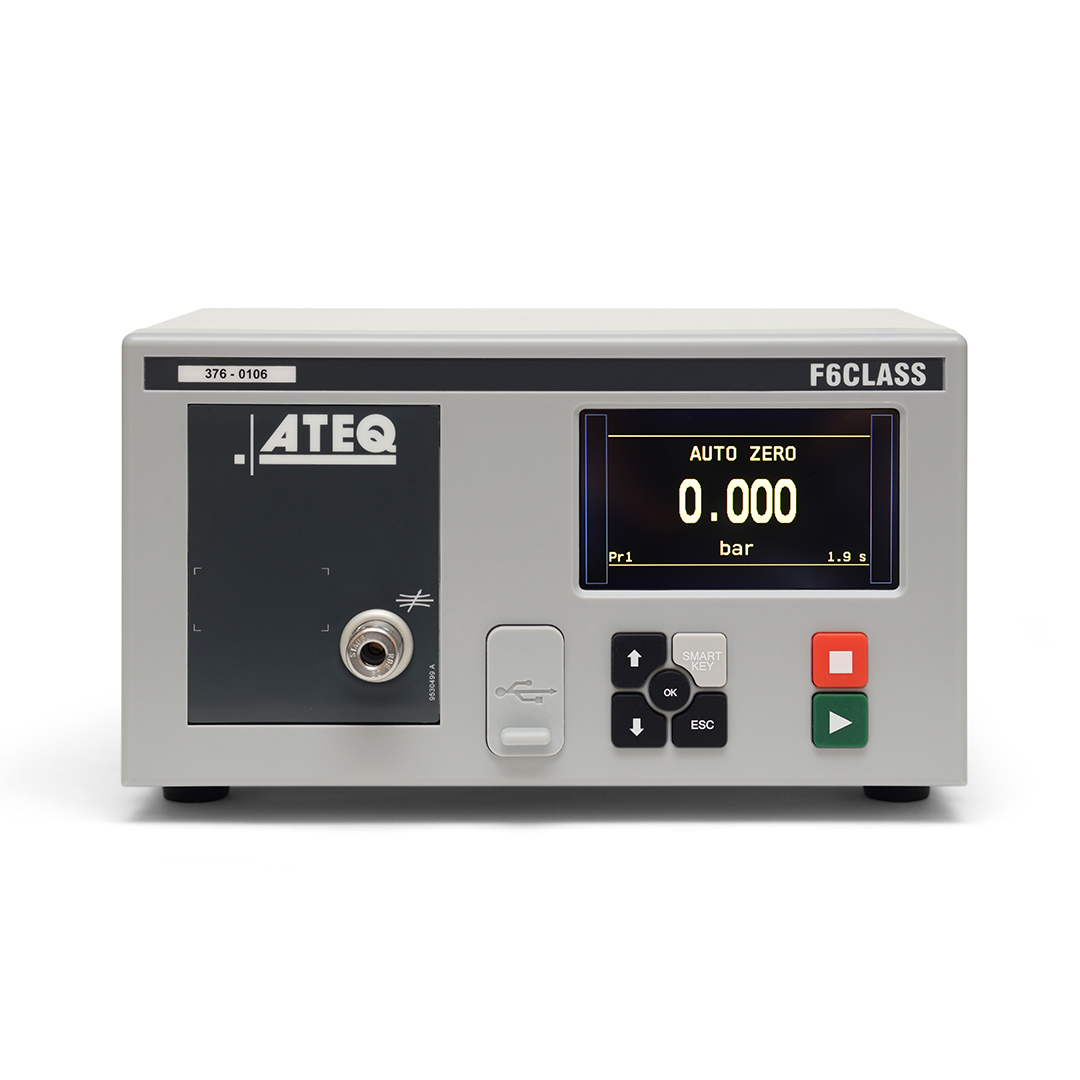
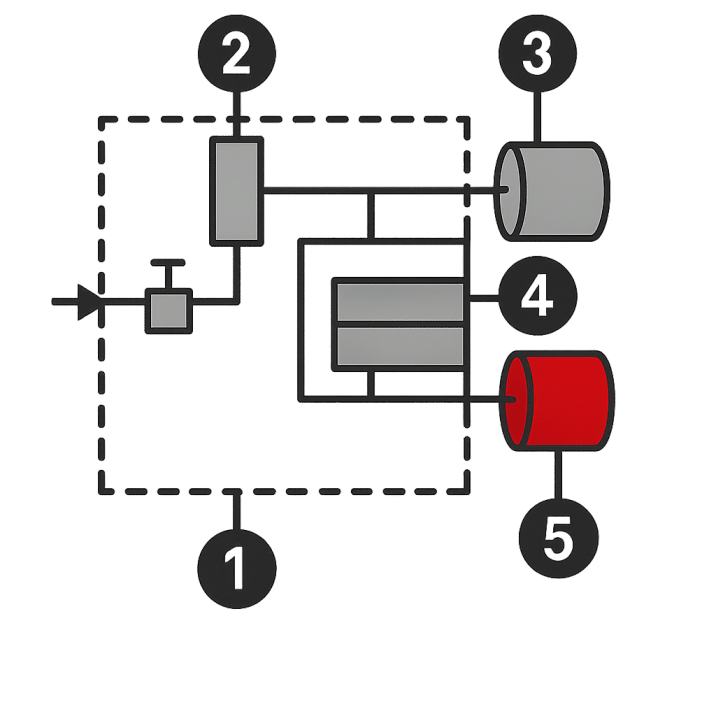
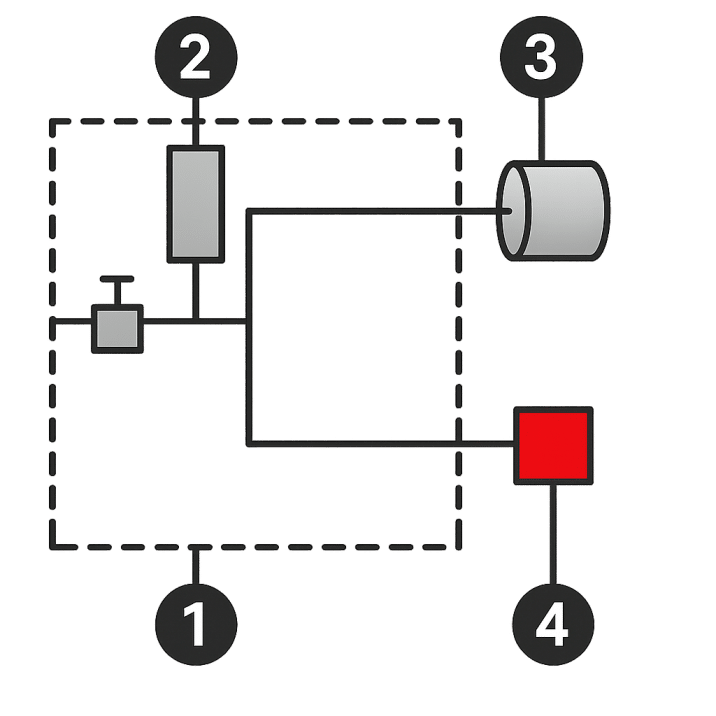
- Differential pressure decay leak measurement
- 16 programs
- Setting on line (via USB)
- 2 languages (English + another one)
- Manual calibration on front panel with calibrated leak
- Data storage on internal memory or USB key
TEST MODES
- Flow units (sccm, mm³/s, cm³/s, cm³/min, cm³/h…)
- ∆P (Pa, 1/10 Pa)
- ∆P/t (Pa/s, 1/10 Pa/s)
ENVIRONMENT
- ROHS Standard
FLEXIBLE COMMUNICATION FORMAT
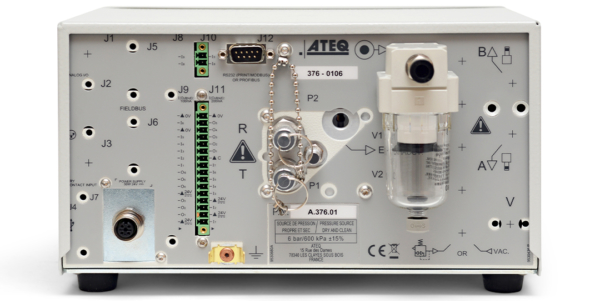
- RS232: Printer, Modbus RTU
- Slave USB: USB key ti transfer data (parameters, results…)
- Master USB: USB key to transfer (parameters, results, …)

| PRESSURE DROP MEASUREMENT |
|---|
| Range | Accuracy up to* | Max. Resolution |
|---|---|---|
| 0 – 500 Pa | ± (1.0% Reading + 1 Pa) | 0.01 Pa |
| TEST PRESSURE MEASUREMENT |
|---|
| Range | Accuracy up to* | Max. Resolution |
|---|---|---|
| -1 < F.S. < 1 bar | ± (1.5% of the pressure + 3 hPa) | 0.1% F.S. |
| 1 < F.S. < 5 bar | ± (1.5% of the pressure + 7.5 hPa) | 0.1% F.S. |
| 5 < F.S. < 10 bar | ± (1.5% of the pressure + 15 hPa) | 0.1% F.S. |
Accuracy: *Laboratory high accuracy mode
SPECIFICATIONS
- PHYSICAL
- Weight: 7 Kg
- Dimensions: (WxHxD) 254x150x170 mm
- ELECTRICAL SUPPLY
- 24VDC/2A
- TEMPERATURE
- Operating: + 5°C at + 45°C
- Storage: 0°C at + 60°C
- INTERFACE
- Graphic color screen with simple and intuitive menu-driven operator controls
- SMART KEY: programmable key with user’s functions
- AIR SUPPLY
- Command 4/6 bar
- Pressure 1 or 2 bar > Test Pressure
- Clean and Dry Air
- Air Quality Standard to be Applied (ISO 8573-1)
OPTIONS
ADD-ONS
- Auto-fill or Electronic Regulator
- 2 Pneumatics Outputs for Control of Sealing Connectors
TECHNOLOGY
DOCUMENTATION


